
A common hosting configuration for web applications (like WordPress! which this site unsurprisingly runs on), is to first install the application inside of some kind of isolated environment (e.g. a Virtual Machine or Docker Container), and then use NGINX as a reverse proxy to sort and forward any incoming traffic to its right destination. This is especially handy when dealing with HTTPS-based traffic, as NGINX can terminate each request and then send the raw HTTP traffic to the right application server.
It’s worth nothing that application servers are generally capable of terminating SSL themselves, but they are also generally not as performant at it as NGINX is. Terminating at the reverse proxy level carries a few other benefits, most notably the ability to direct traffic based on the URI of a request (e.g. /en/ vs. /de/, to direct to a different server based on the localization of a site).
The process of configuring this is usually straightforward for most applications. However, in setting up this site, I came across quite a few blog posts around WordPress and SSL that offer pretty bizarre solutions. I’m by no means a WordPress person but please, please do not look for Plugins to hack around a badly set-up WordPress configuration when you’re setting up SSL.
This post is using a WordPress installation via WordPress’s official Docker Repository. The docker-compose.yml file we’re using looks like this.
version: "3.9"

services:
  db:
    image: mysql:5.7
    volumes:
      - db_data:/var/lib/mysql
    restart: always
    environment:
      MYSQL_ROOT_PASSWORD: somewordpress
      MYSQL_DATABASE: wordpress
      MYSQL_USER: wordpress
      MYSQL_PASSWORD: wordpress

  wordpress:
    depends_on:
      - db
    image: wordpress:latest
    ports:
      - "8000:80"
    restart: always
    environment:
      WORDPRESS_DB_HOST: db:3306
      WORDPRESS_DB_USER: wordpress
      WORDPRESS_DB_PASSWORD: wordpress
      WORDPRESS_DB_NAME: wordpress
volumes:
  db_data: {}
When that’s set up on our server, we’ll bring up WordPress and its backing MySQL Database like so.
WordPress should be up at this point. We can access it via port 8000, the port we exposed in the above docker-compose.yml config.
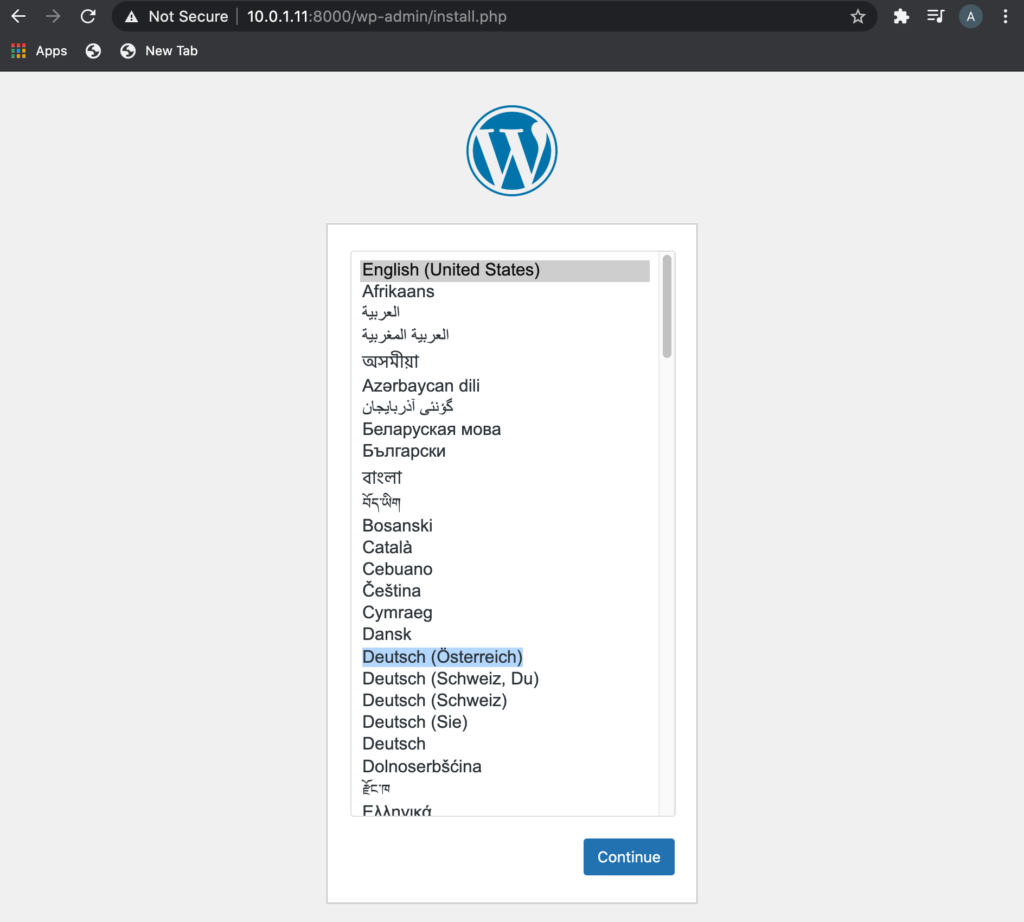
At this point, I’d recommend setting up our NGINX config before proceeding with the installation. That’ll make it so the site is configured with the correct domain name after going through the installation wizard (and not http://10.0.1.11, like in the above example). This can of course be changed later in settings if you do end up doing things in a different order.
A simple NGINX config would look like so.
server {
    listen 80;
    server_name blog.ldev.app;
    rewrite ^(.*) https://$host$1 permanent;
}
server {
    listen 443;
    server_name blog.ldev.app;
    ssl on;
    ssl_certificate /etc/pve/local/nginx/ldev-ssl.pem;
    ssl_certificate_key /etc/pve/local/nginx/ldev-ssl.key;
    proxy_redirect off;
    location / {
        proxy_pass http://10.0.1.11:8000;
    }
}
This listens for incoming traffic on the domain name “blog.ldev.app”, terminates the SSL connection (or, tells the client to redirect to the https:// version of this resource if the initial request came in via http), and forwards the now-decrypted traffic to our WordPress application server at :8000.
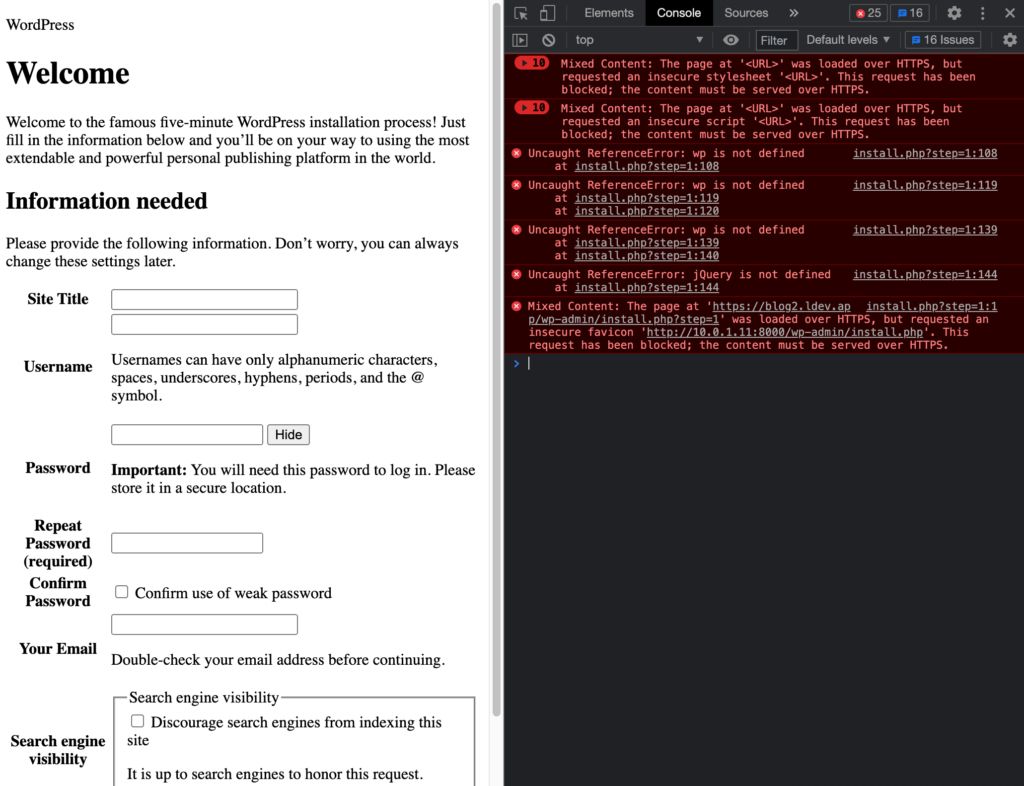
Unfortunately, under this configuration, WordPress doesn’t have any way of knowing when incoming requests are sent via HTTPS, and is unable to render HTTPS-based content in response. To see what I mean, if we launch this configuration and navigate to our site, we’ll observe that static content (e.g. the CSS stylesheets) is served using http-relative links. Modern browsers generally prevent the loading of insecure links inside of pages accessed via HTTPS, so things break in a predictable fashion.
What we need to do from here is to pass on a few HTTP headers (via NGINX) to our WordPress application, so WordPress knows that it’s being accessed via HTTPS and can render itself accordingly.
When WordPress processes requests internally, it looks for these headers, as defined in wp-config.php:
if (isset($_SERVER['HTTP_X_FORWARDED_PROTO']) && $_SERVER['HTTP_X_FORWARDED_PROTO'] === 'https') {
  $_SERVER['HTTPS'] = 'on';
}
Note that, if you are installing WordPress outside of the official Docker repository, you might have to add the above manually to your wp-config.php.
We can fix our situation by adding the following standard fields to our NGINX config.
server {
    listen 443;
    server_name blog.ldev.app;
    ssl on;     ssl_certificate /etc/pve/local/nginx/ldev-ssl.pem;
    ssl_certificate_key /etc/pve/local/nginx/ldev-ssl.key;
    proxy_redirect off;
    location / {
        proxy_set_header        Host $host:$server_port;
        proxy_set_header        X-Real-IP $remote_addr;
        proxy_set_header        X-Forwarded-For $proxy_add_x_forwarded_for;
        proxy_set_header        X-Forwarded-Proto $scheme;
        proxy_pass http://10.0.1.11:8000;
    }
}
Restart the NGINX server, and we should be good to go.
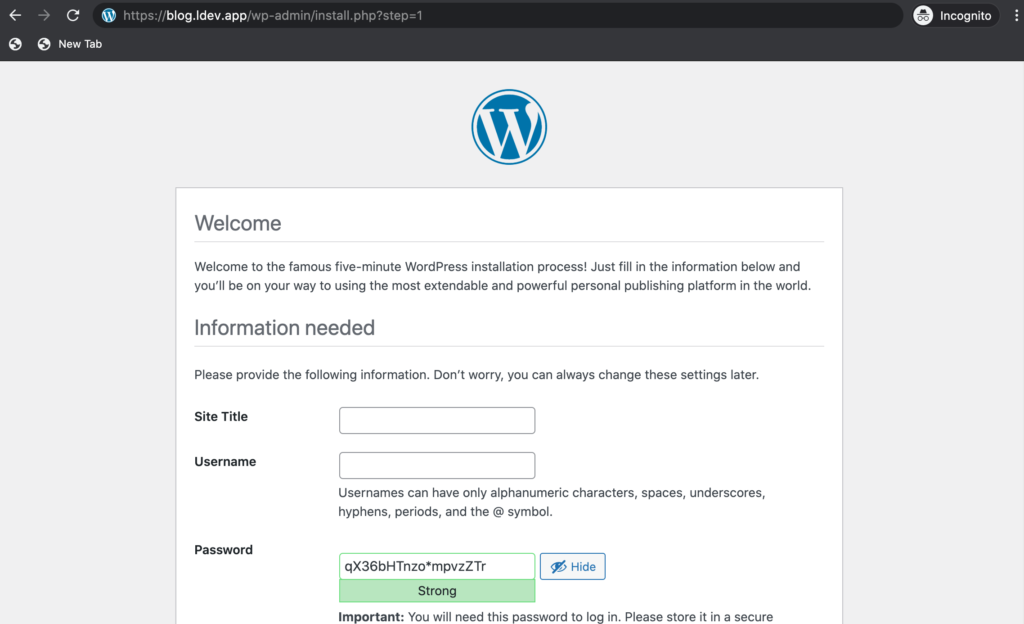
From here, everything should work as expected. WordPress will serve all links as HTTPS, the admin page will function correctly, and we’re ready to start customizing our site.